

Blog
How to Use a Wood Moisture Meter

How to Use a Wood Moisture Meter
Introduction
Uncontrolled moisture is the silent enemy of lumber, furniture, construction materials, paper, herbal goods and bamboo crafts. Too much water inside wood leads to warping, mold, cracking, rot and structural failure; overly dry timber shrinks and splits during processing. A reliable pin-type wood moisture meter solves this problem by instantly reading moisture content (MC) as a percentage of dry material weight, letting carpenters, builders, lab technicians and home DIYers make informed material choices before production or installation. This full guide breaks down everything you need to know about operating a portable probe moisture meter (featuring two variants: standard basic model and upgraded temperature & humidity version). We’ll walk through step-by-step testing workflows, material mode setup, safety rules, error troubleshooting, and pro tips to guarantee consistent, precise moisture readings every time.
What Is This Portable Pin Moisture Meter & Its Key Advantages
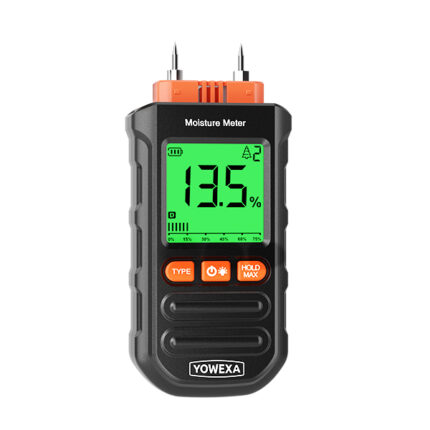
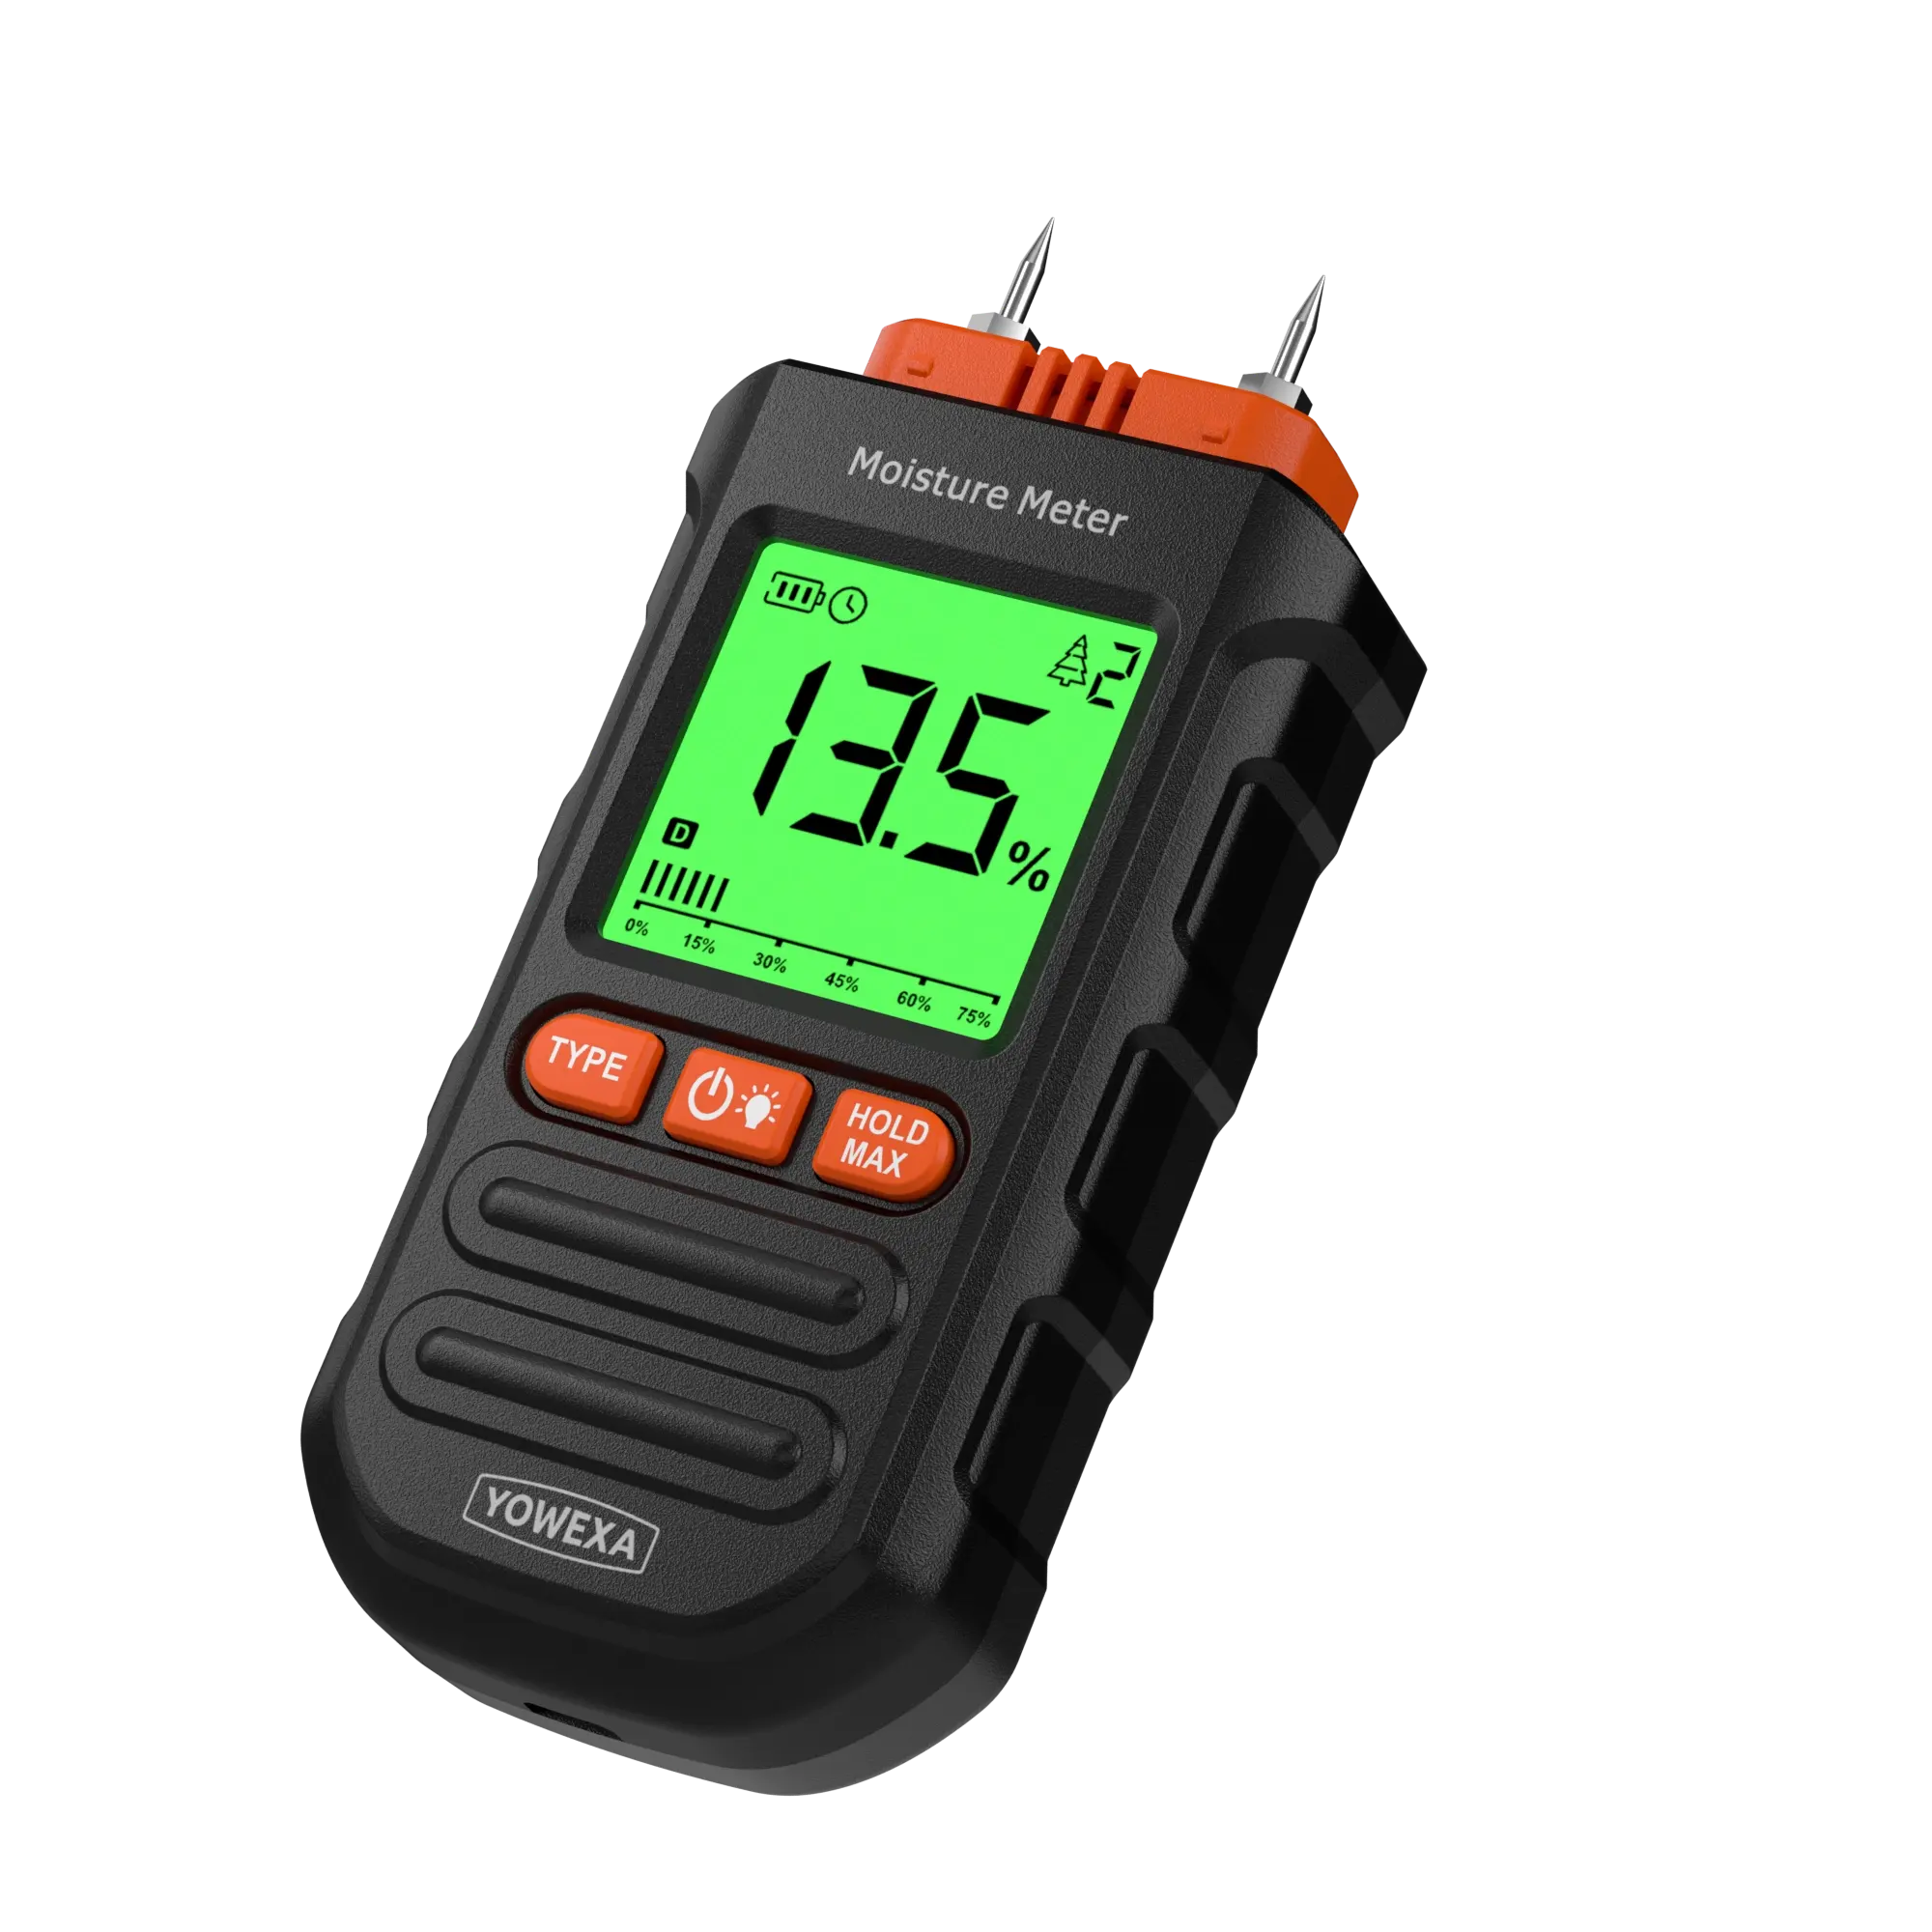
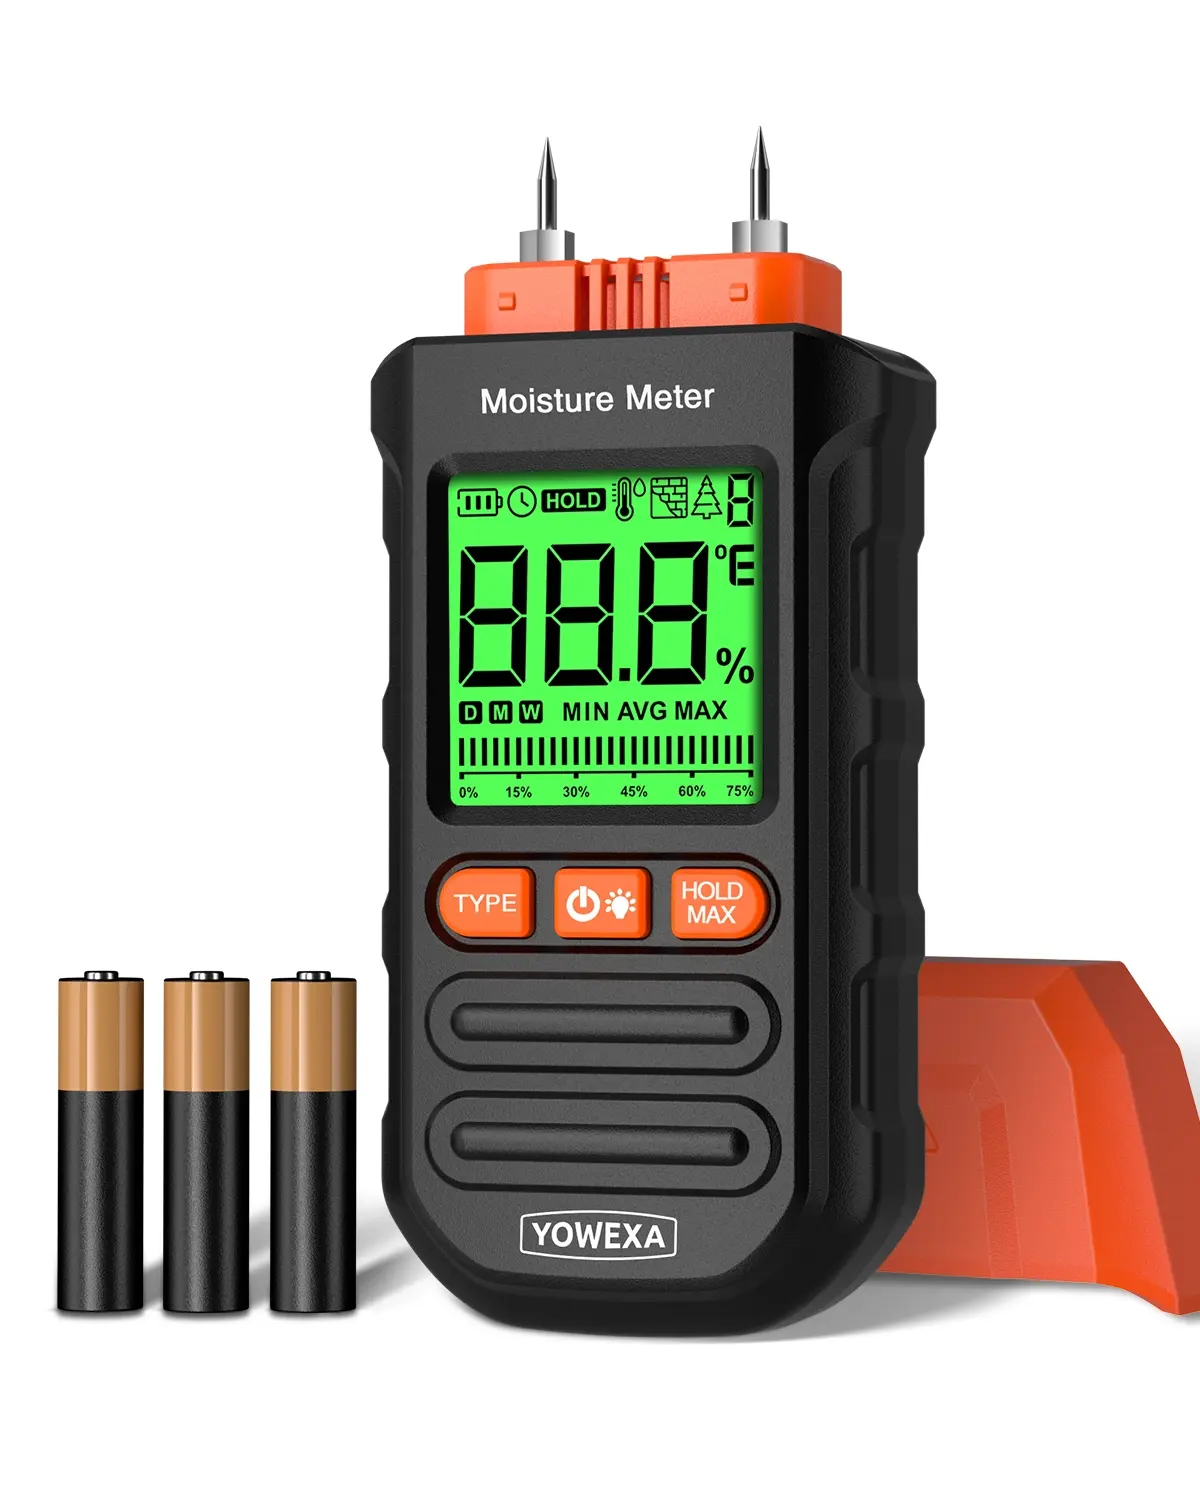 This compact pin-style moisture tester is an all-in-one detection tool built for multi-material moisture analysis, with two configurations to match different work demands:
- Base Model: Core moisture testing function with 7 material preset modes, buzzer feedback, data hold, max/min/average calculation, tricolor backlit display and auto power-off.
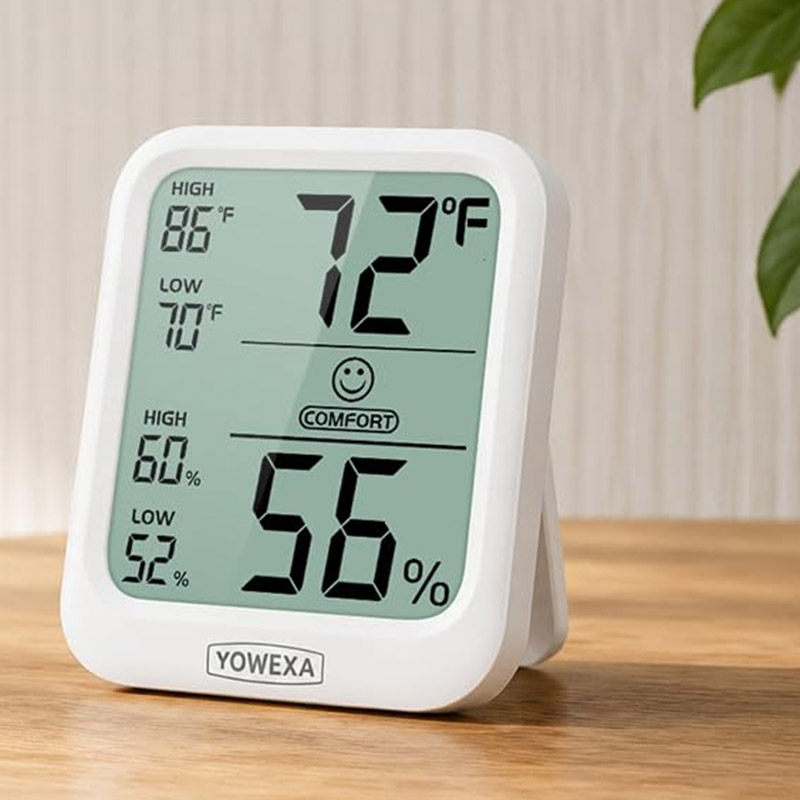
- Advanced Model: Retains all base features, plus built-in ambient temperature and relative humidity sensors to log environmental conditions alongside moisture levels—ideal for labs, timber storage and indoor renovation sites.
Standout Features
- High-sensitivity dual metal probes for deep, stable penetration testing
- 7 pre-calibrated material measurement modes covering hardwood, softwood, masonry, plaster and brick
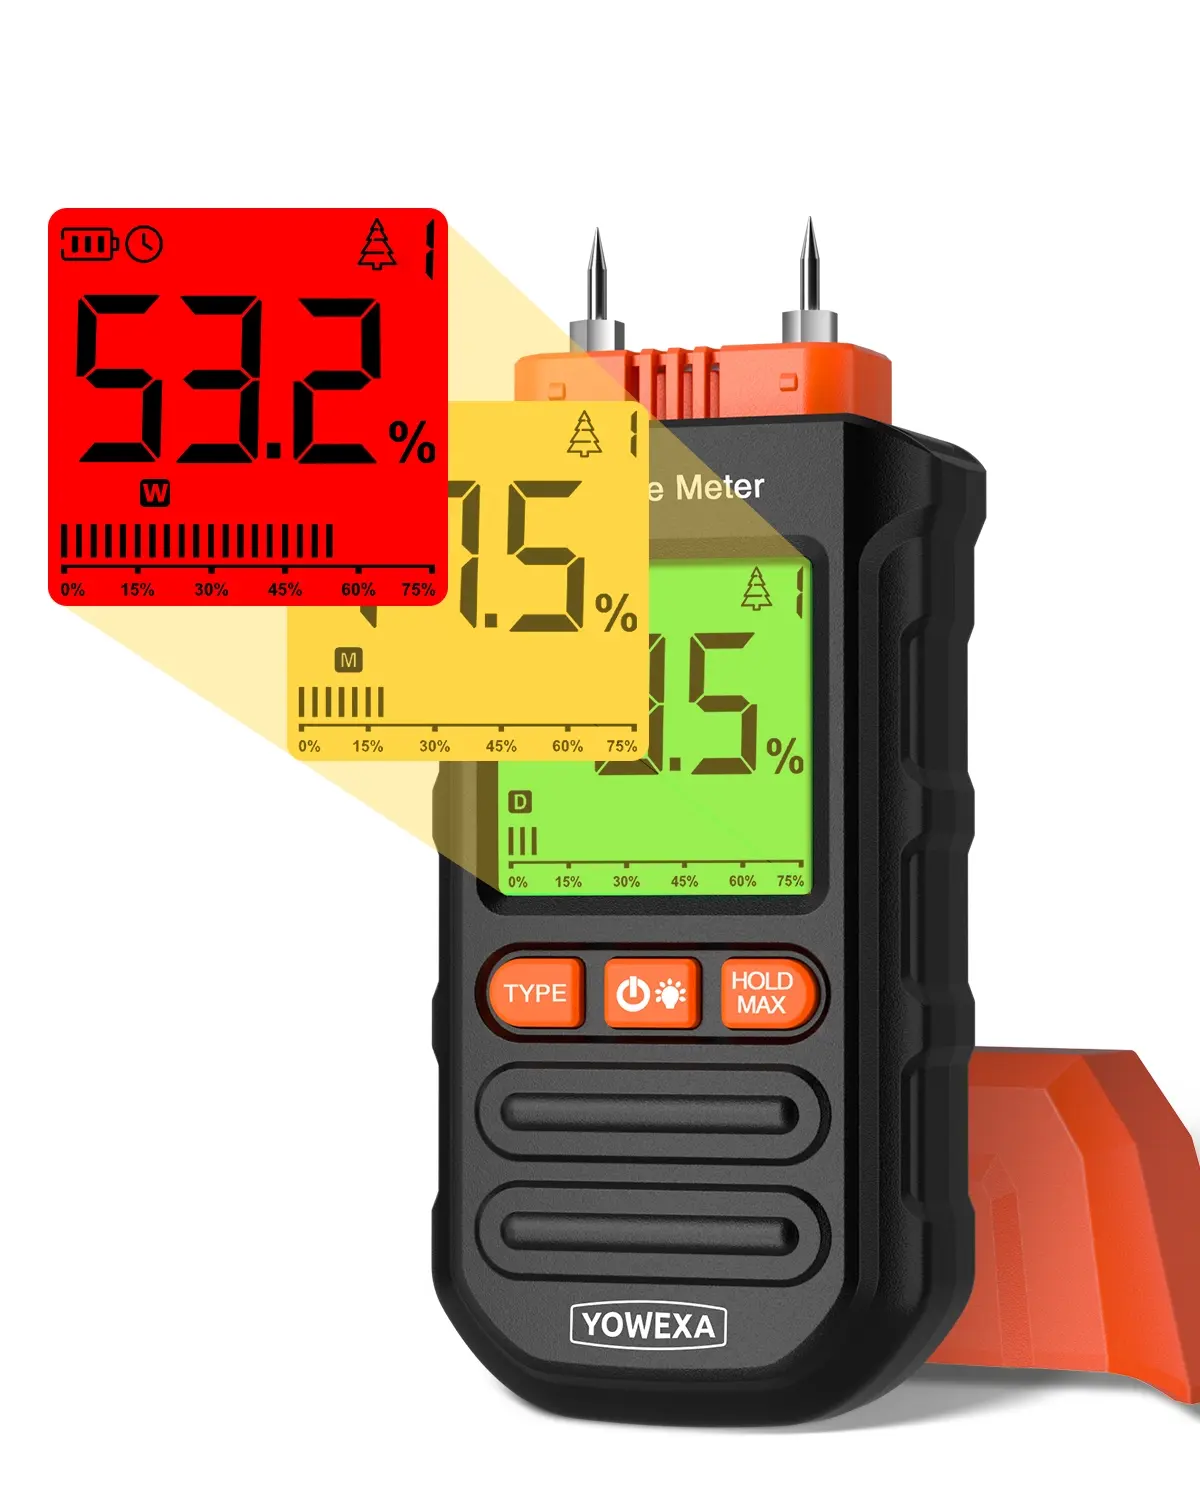
- Three-color backlight screen for quick visual moisture alerts
- Built-in buzzer to confirm button presses and abnormal moisture values
- Data lock function to freeze readings for easy recording
- Max, minimum and average value tracking for batch sampling
- 0.1% high-resolution moisture readout, measurement range 0.0–58.0% MC
- Lightweight ABS housing (only ~121g) with pocket-friendly size 135×57×30mm
- Powered by three AAA 1.5V dry batteries with on-screen battery status indicator
- 5-minute automatic shutdown to extend battery life
Wide Application Scenarios
- Timber mills & wood furniture manufacturing
- Residential and commercial building construction (wall plaster, concrete, brick inspection)
- Home renovation & flooring installation
- Paper and tobacco processing factories
- Chinese herbal medicine and bamboo utensil quality inspection
- Laboratory material testing and storage environment monitoring
Step-by-Step Tutorial: How to Test Moisture Content Correctly
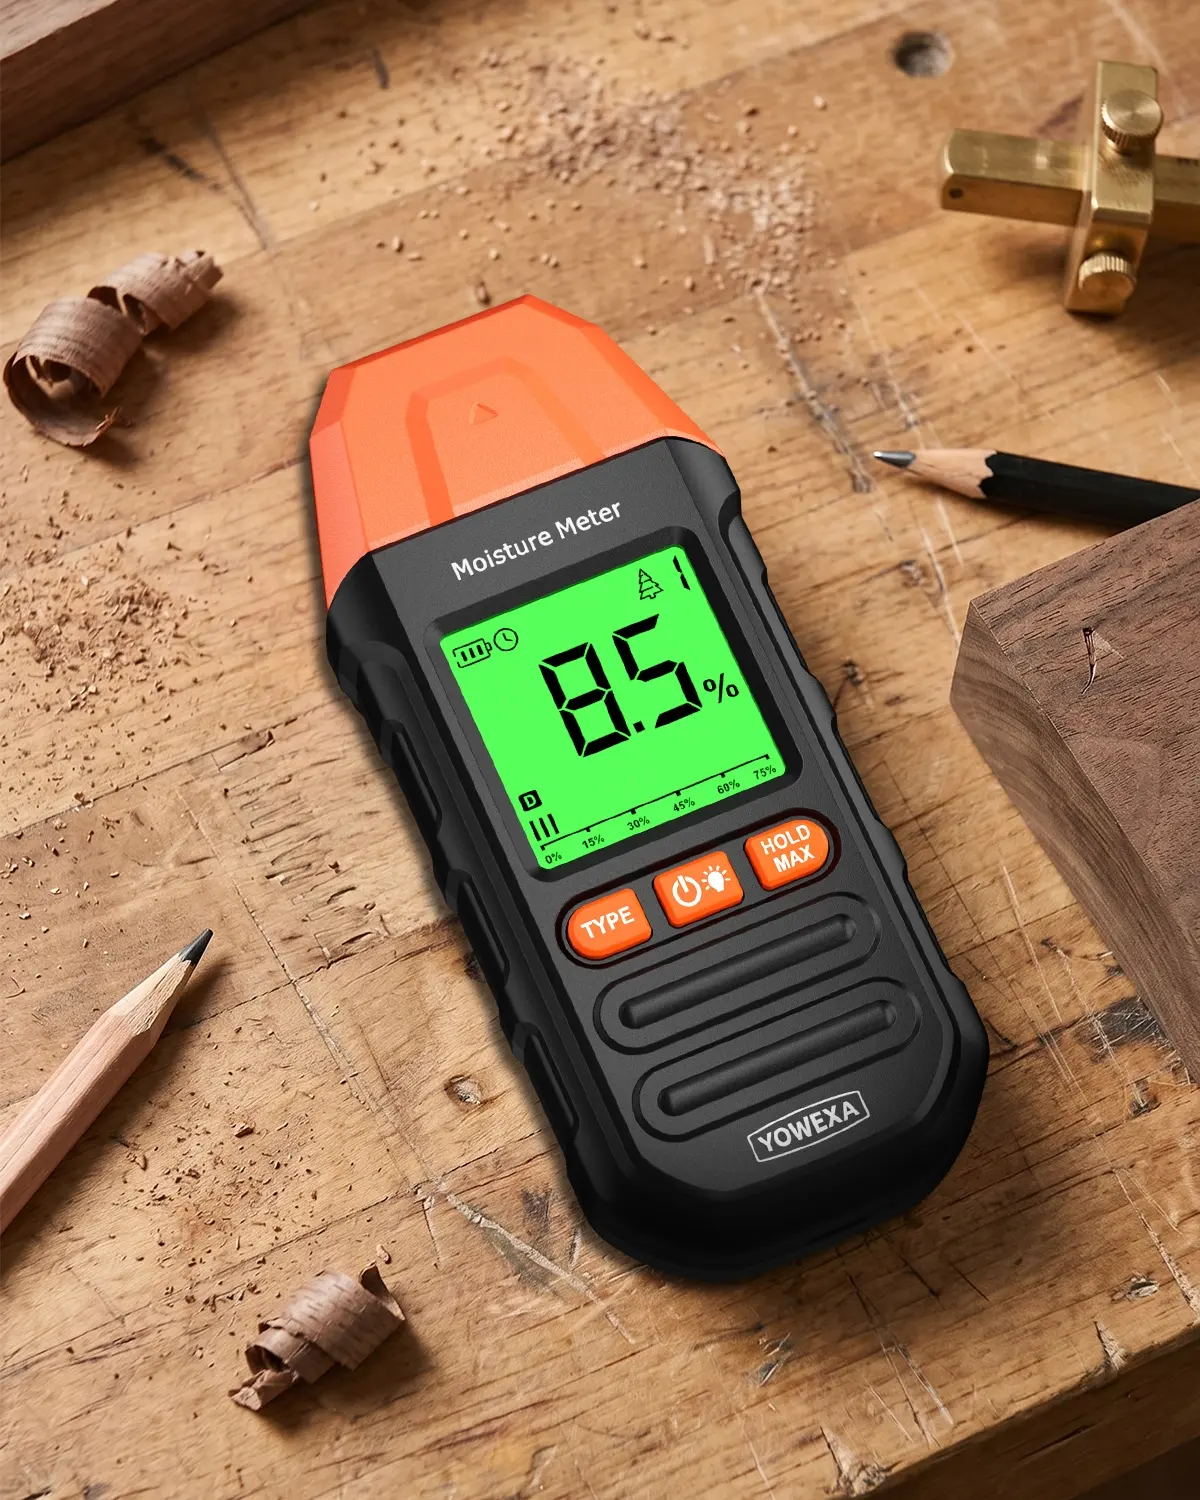 Follow this standardized workflow to eliminate reading errors and capture reliable moisture data every time you test wood, masonry or herbal materials.
Step 1: Pre-Test Inspection & Meter Preparation
- Check the device exterior: Confirm the plastic casing has no cracks, and the two metal probes (Φ2×10mm) are straight, clean and free of rust, bends or debris. Damaged probes will skew conductivity readings.
- Install fresh AAA batteries, close the battery cover tightly, then power the meter on via the center power/light button. The screen will light up and show battery level icons.
- Clear surrounding interference: Move the test sample away from metal tables, nails, wiring and conductive surfaces—metal disturbs the probe’s resistance measurement and creates false high/low MC values.
- Wipe surface water, dust or coating residue off the material test area; standing surface moisture will inflate readings and fail to reflect core material moisture.
Step 2: Select the Matching Material Measurement Mode
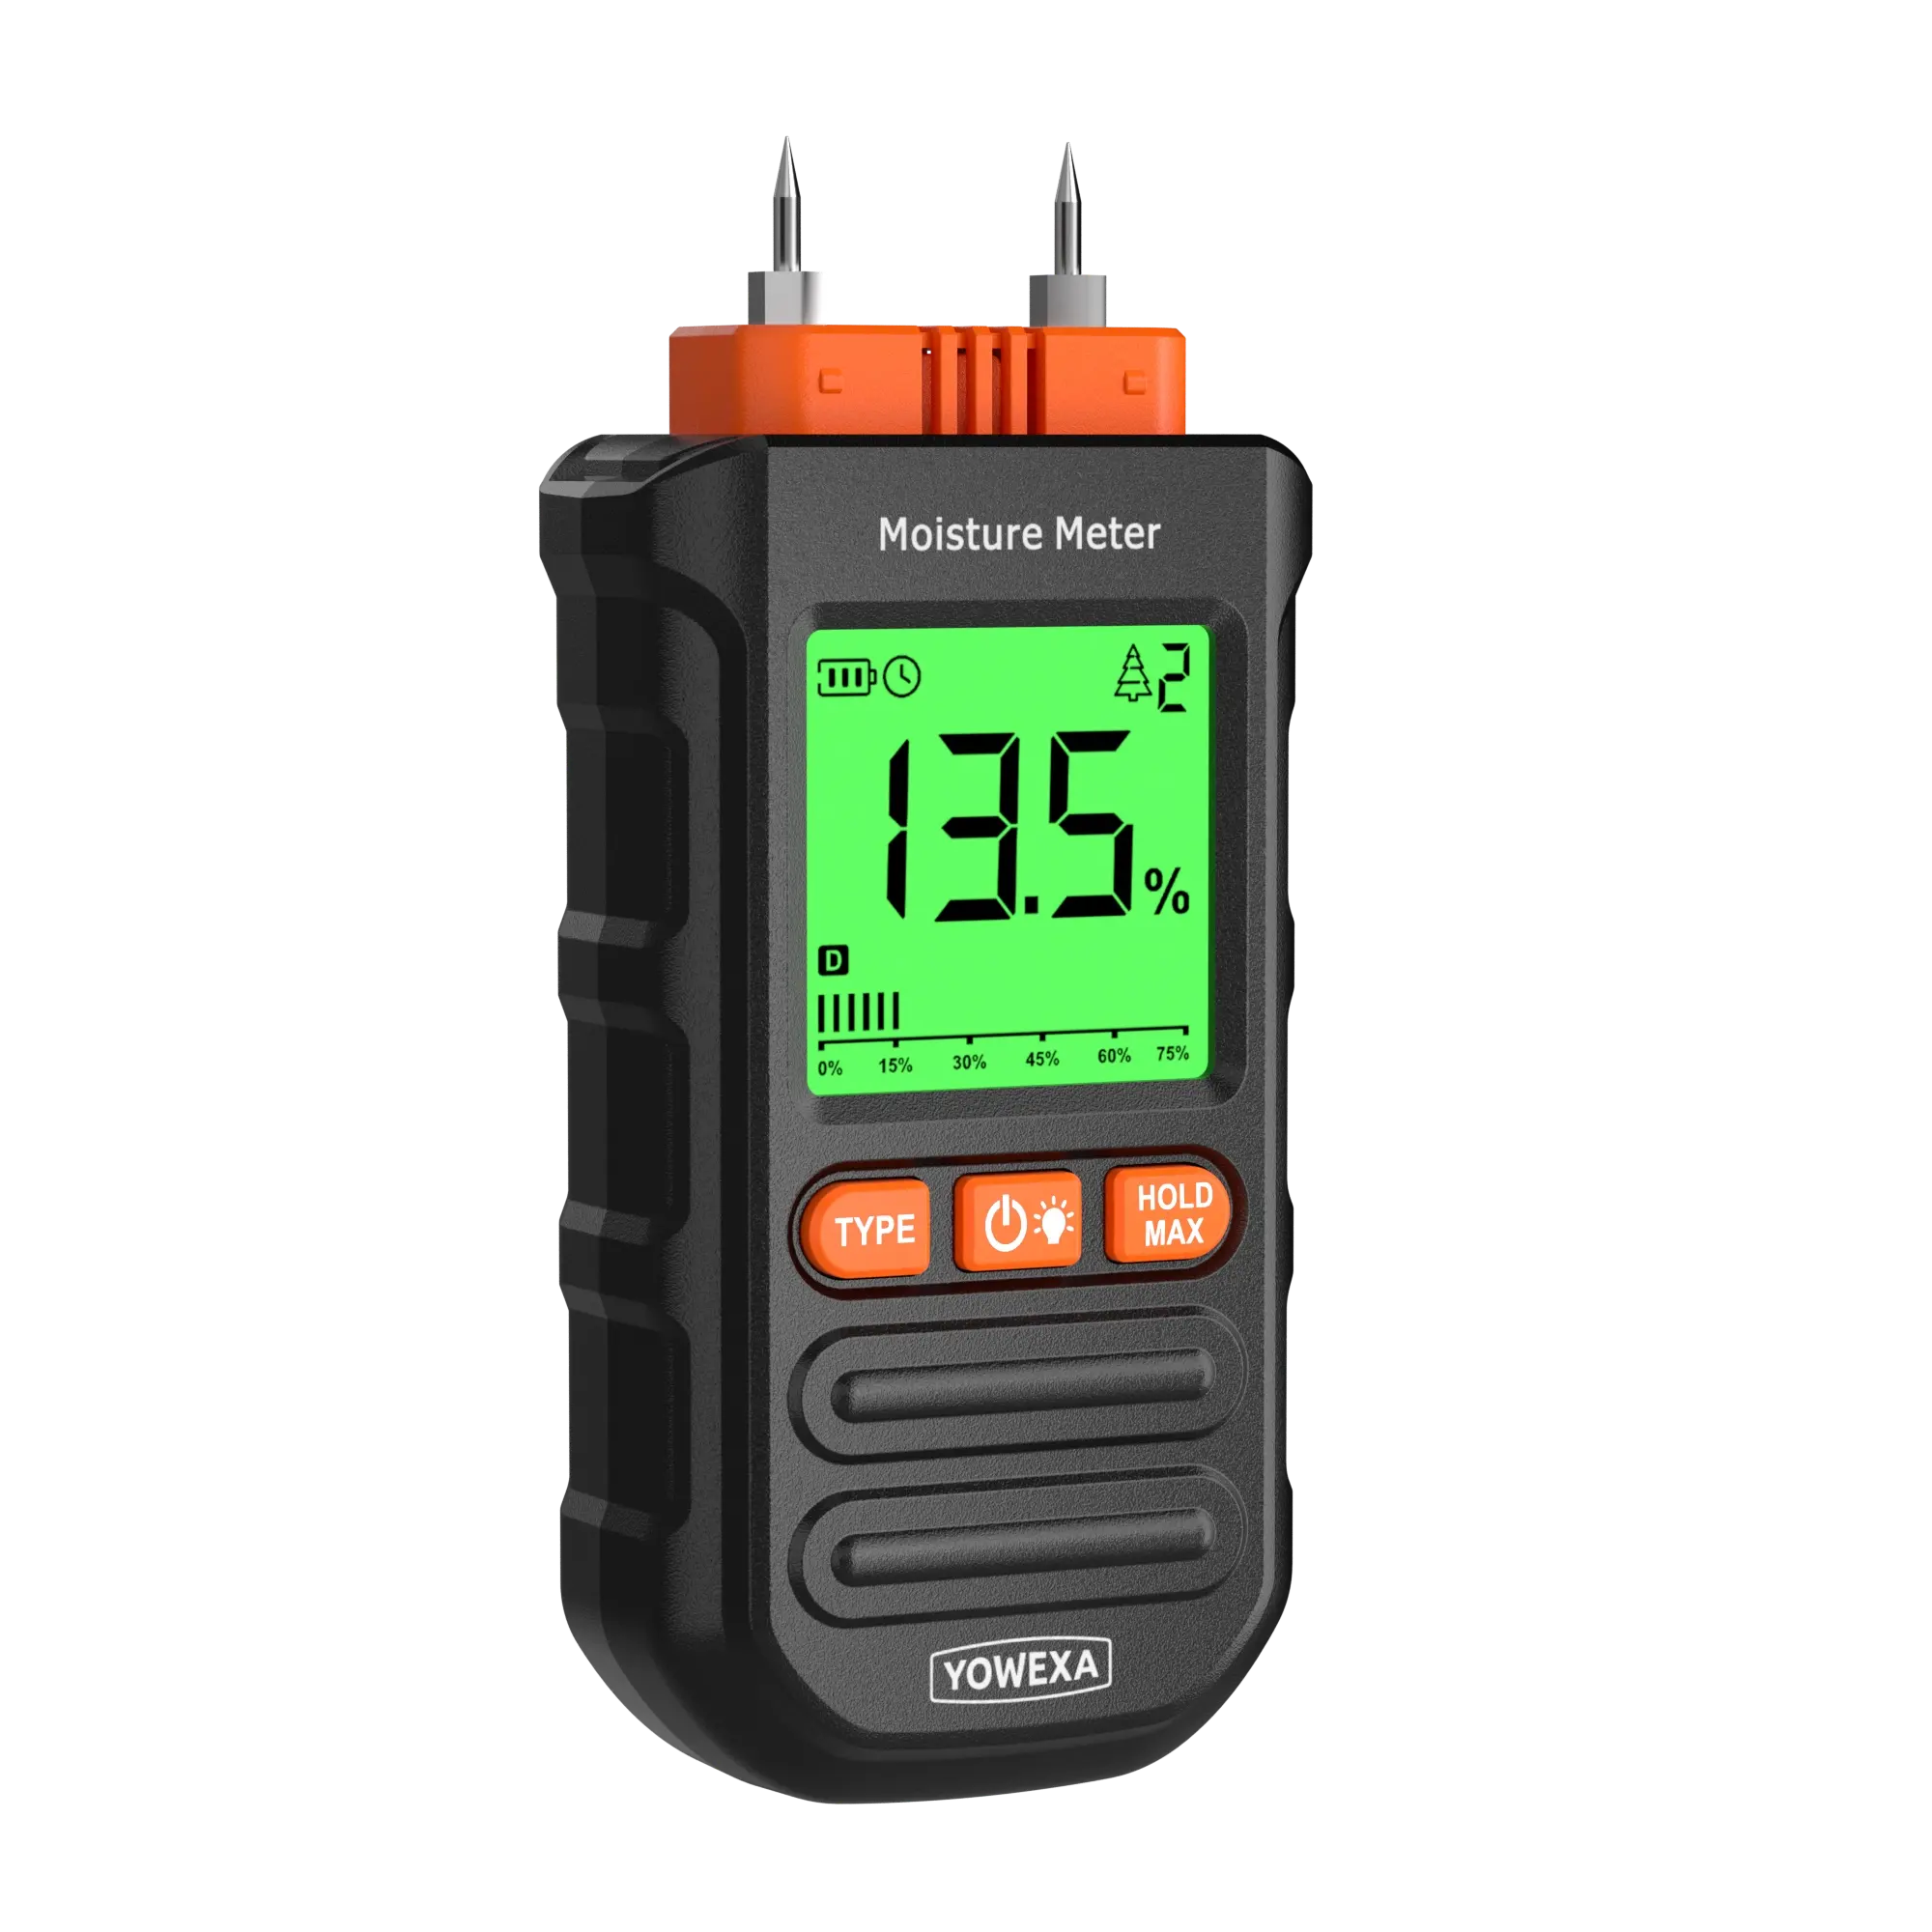
The meter includes 7 factory-calibrated material profiles, each tuned to the density and conductivity of specific substances. Press the TYPE button repeatedly to cycle through modes and match your test material:
| Mode Number | Supported Test Materials | Usable Moisture Range |
| Mode 1 | Beech, Spruce, Larch, Birch, Cherry, Walnut (Hardwood) | 8.8–54.8% |
| Mode 2 | Oak, Pine, Maple, Ash, Douglas Fir, Eucalyptus (Softwood) | 6.8–47.9% |
| Mode 3 | Cement mortar & concrete substrates | 0.9–22.1% |
| Mode 4 | Anhydrous gypsum plaster layers | 0.0–11.0% |
| Mode 5 | Standard cement mortar | 0.7–8.6% |
| Mode 6 | Lime mortar & wall gypsum | 0.6–9.9% |
| Mode 7 | Clay & fired construction brick | 0.0–16.5% |
| Pro Tip: If you own the upgraded temperature-humidity model, ambient temp (-20.0~60.0℃) and RH (0–99%RH) will display alongside moisture values automatically after mode selection. |
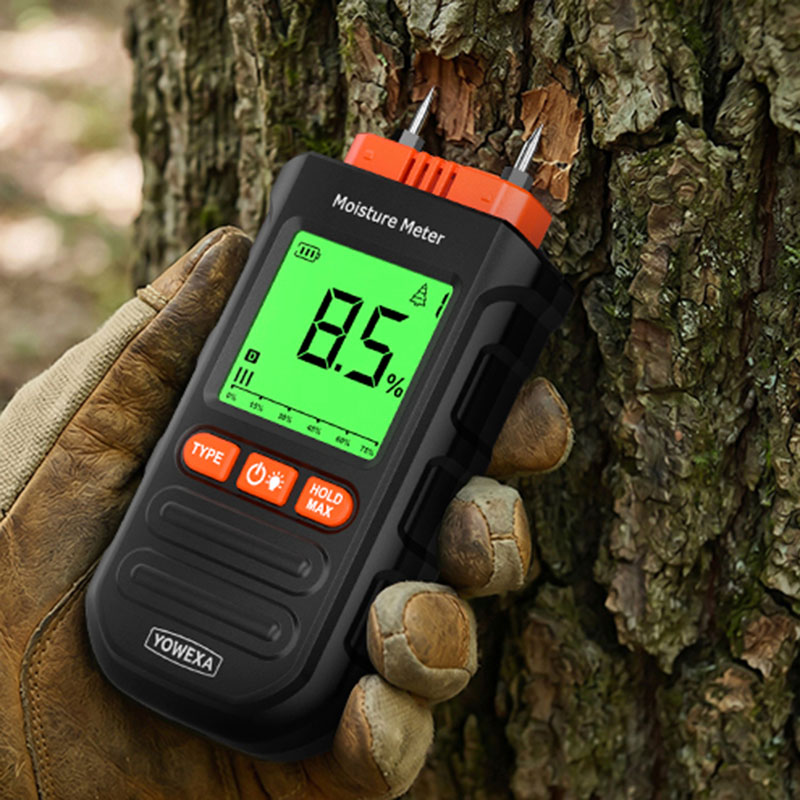
Step 3: Insert Probes Into the Test Sample
- Hold the meter firmly, grip the unit behind the front protective ridge to avoid accidental probe contact with skin.
- Push both metal probes fully and evenly into the material’s flat, grain-straight test area. Avoid knots, cracks or uneven surface spots these create inconsistent resistance.
- For lumber: Insert probes parallel to the wood grain for the most accurate core moisture reading; test at least 10cm inward from board ends (wood dries faster at edges, leading to unrepresentative low readings).
- Ensure both probes penetrate to equal depth uneven insertion is one of the most common causes of unstable screen numbers.
Step 4: Capture, Lock & Analyze Readings
- Wait 2–3 seconds for the digital value to stabilize on the tricolor backlight screen; the buzzer will emit a short beep to confirm a valid measurement.
- Use the HOLD MAX button to freeze the screen reading if the sample is awkwardly positioned or you need to record data hands-free. This function also tracks the maximum moisture value detected during continuous scanning.
- For batch testing: Take 3–5 separate readings across different spots on a single board or material piece, then reference the meter’s average value to avoid judging quality based on a single wet/dry pocket.
- Read the screen color cue: The three-stage backlight changes shade based on moisture severity to quickly flag over-wet materials without calculating percentages manually.
Step 5: Finish Testing & Store the Device Safely
- Pull the probes straight out of the material; do not twist or bend the pins during removal.
- Wipe probe surfaces clean with a dry cloth to remove wood dust, plaster residue or herbal debris.
- Power off the meter manually, or let the 5-minute auto-shutdown function activate automatically.
- Store the tester in a cool, dry space away from direct sunlight, corrosive chemicals and extreme temperature swings. Remove batteries if storing long-term to prevent leakage damage.
Critical Safety Rules for Meter Operation
- Never point the sharp metal probes toward people, eyes or exposed skin during testing to avoid puncture injuries.
- Do not insert probes into live, charged electrical objects or wiring this creates electric shock risk and permanent meter damage.
- Do not disassemble the meter housing, probes or internal sensor components; unauthorized self-teardown voids all accuracy guarantees.
- Avoid long-term exposure to direct sunlight, rain, oil or corrosive cleaning agents. The ABS casing and internal sensors degrade under harsh conditions.
- Do not force probes into ultra-hard dense materials; excessive force bends pins and ruins measurement precision.
- If working on construction sites with wet floors, only operate the meter in dry conditions moisture seepage into the circuit board causes malfunctions.
Common Mistakes That Cause Inaccurate Moisture Readings
Even premium moisture testers deliver wrong results if misused. Watch for these frequent errors:
- Wrong material mode selected Testing oak lumber on a brick or plaster preset shifts readings drastically. Always match the TYPE mode to your material before probing.
- Metal interference near the test zone Nails, metal framing or metal workbenches alter electrical resistance between probes, leading to artificially high or low moisture percentages.
- Shallow or uneven probe insertion Partially inserted pins only read surface moisture and miss wet core sections inside thick lumber or concrete slabs.
- Single-point sampling only Wood and masonry rarely have uniform moisture distribution; one reading cannot represent the entire piece’s condition.
- Surface water left on test material Unwiped rainwater, cleaning liquid or condensation on the surface creates false high moisture numbers that do not reflect internal material water content.
- Dull, bent or dirty probes Debris coating probe tips breaks electrical contact, while bent pins create inconsistent gaps between sensors and the test medium.
- Ignoring ambient temperature impacts Extreme hot or cold environments slightly shift conductivity values. The upgraded model’s built-in temperature sensor lets you cross-reference environmental conditions to contextualize readings.
How Accurate Is This Pin Moisture Meter?
The tester delivers factory-calibrated accuracy within tight tolerances for professional use:
- Moisture content accuracy: ±2.0% MC across the full 0.0–58.0% measuring range, with 0.1% resolution for precise small-value changes
- Upgraded model temperature accuracy: ±1.0℃, resolution 0.1℃
- Upgraded model humidity accuracy: ±5.0%RH, resolution 1%RH
Multiple practical factors impact real-world precision:
- Probes not fully inserted or unevenly sunk into material
- Testing near conductive metal hardware
- Severe ambient temperature fluctuations
- Sampling only surface layers instead of material core
- Using the incorrect material species/masonry mode
To boost reliability, always take multiple distributed readings and cross-check max/min/average values before making material processing or installation decisions.
When Should You Choose This Pin Moisture Meter Over Other Testing Tools?
Pin Moisture Meter (This Model) vs. Laboratory Oven Test
- Oven drying delivers absolute accurate dry-weight moisture data but requires cutting material samples, 12+ hours of lab processing and specialized equipment—completely impractical for on-site job checks.
- This portable tester delivers instant readings without destroying large lumber boards, plaster walls or herbal batches, perfect for field, shop and daily quality control.
Pin Probe Meter vs. Non-Destructive Pinless Scanners
- Pinless scanners only read surface moisture and cannot penetrate thick wood or concrete to detect hidden wet cores.
- The dual-pin design penetrates deep into materials to capture core moisture, making it superior for quality checks before cutting, gluing or installing lumber flooring.
Base Model vs. Upgraded Temp & Humidity Model
- Pick the base YW-212-P for simple wood-only testing in dry workshops where environmental tracking is unnecessary.
- Choose the YW-212-S upgraded variant for labs, timber storage facilities, renovation and herbal processing—simultaneous temp and RH data lets you link high moisture levels to humid storage conditions and prevent mold growth proactively.
Frequently Asked Questions
Q1: Can this meter test all types of wood and building materials?
Yes. The 7 pre-set material modes cover common hardwoods, softwoods, concrete, plaster, gypsum and brick. It also works for bamboo, cotton, tobacco and Chinese herbal medicines by matching the closest wood density mode.
Q2: What’s the ideal moisture range for indoor solid wood flooring?
Interior lumber should sit between 6–9% MC to avoid shrinkage or swelling after installation. Readings above 12% indicate the wood needs extra drying before fitting.
Q3: Do I need to replace the probes over time?
Probes are wear parts. If pins bend, rust or cannot fully penetrate wood, replace the matching Φ2×10mm probe set to restore accurate conductivity measurements.
Q4: Does the auto-shutdown feature drain batteries quickly?
No. The 5-minute power-off function eliminates idle power draw. Three AAA batteries last hundreds of test cycles under regular daily use. The on-screen battery icon alerts you when power runs low.
Q5: Can I test wet exterior lumber directly after rain?
Wipe all standing surface water off the wood first, then wait 10–15 minutes for surface dampness to evaporate. Surface water will produce inflated readings that do not reflect the lumber’s internal stable moisture content.
Final Conclusion
A pin-type wood moisture meter is an indispensable tool for anyone working with lumber, construction masonry, herbal goods or paper materials. The YW-212 series balances portability, multi-material compatibility and professional accuracy, with an upgraded version adding environmental temperature and humidity tracking for complete moisture condition analysis. By following the step-by-step testing process, selecting the correct material mode, avoiding metal interference and taking multiple distributed readings, you eliminate nearly all common measurement errors. Regular probe maintenance and proper storage extend the meter’s service life and keep readings consistent for years of on-site and laboratory use. Always prioritize safety when handling sharp probes, and never rely on a single isolated reading to judge material quality max, min and average value tracking are your best tools to avoid costly warping, mold and structural damage caused by unregulated moisture.